Chewy Peanut Butter Cookies Recipe
⭐ [Jump to Recipe]
The difference between a chewy peanut butter cookie and a dry one is about 90 seconds of oven time and one extra egg yolk. Nothing about the ingredient list is unusual, which is exactly why so many batches come out sandy.
Why You'll Love This Recipe
- Soft and chewy on day three, not just fresh out of the oven
- No mixer needed if your butter is properly soft
- Pantry ingredients, nothing specialty
- The dough freezes as portioned balls, so you can bake four at a time
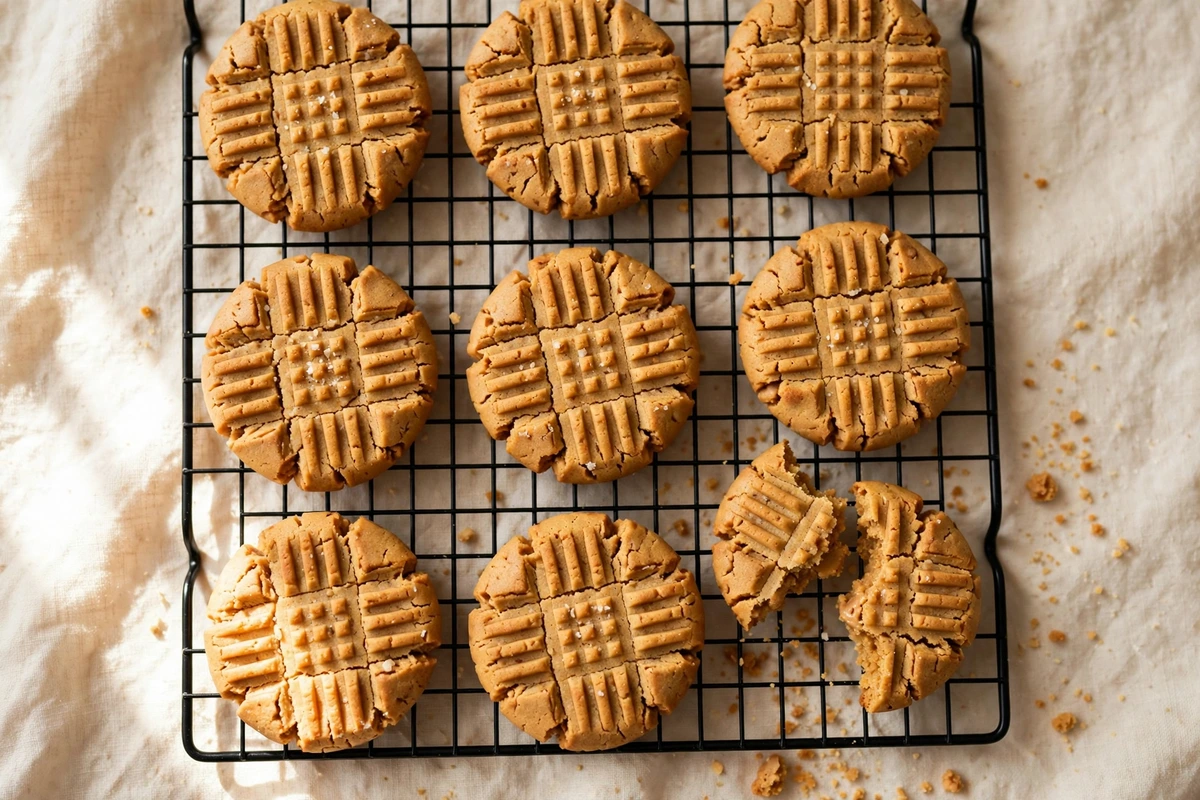
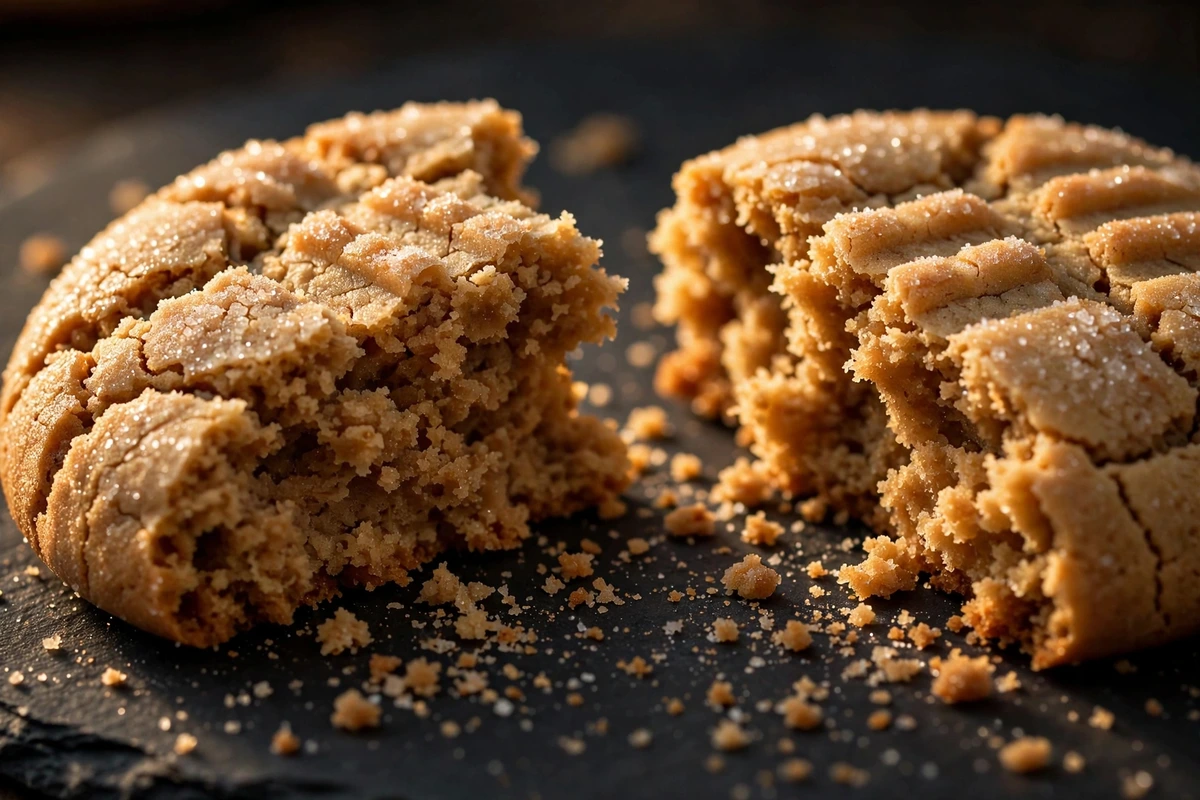
Pull them out when the centres still look underdone. Peanut butter cookies carry a lot of fat and protein, and both keep cooking hard after the tray leaves the oven. A cookie that looks perfectly set at minute 12 will be sandy by the time it cools. Take them at 9 to 10 minutes, when the edges are set and the middle is still puffed and glossy, and let the sheet finish the job.
Read Before You Start
Use shelf-stable creamy peanut butter, not the natural kind. Natural peanut butter separates and its oil ratio swings from jar to jar. Stabilized peanut butter holds a consistent fat level, which is what keeps the dough from going greasy or crumbly. If natural is all you have, stir it thoroughly to the bottom of the jar first and expect more spread.
Measure the peanut butter by weight or by a levelled cup. A heaped cup can carry 30 grams extra, and peanut butter is mostly fat and protein. Too much of it does not make the cookie more peanutty, it makes it dry, because there is proportionally less sugar and egg holding moisture.
Ingredient Deep Dive & Notes
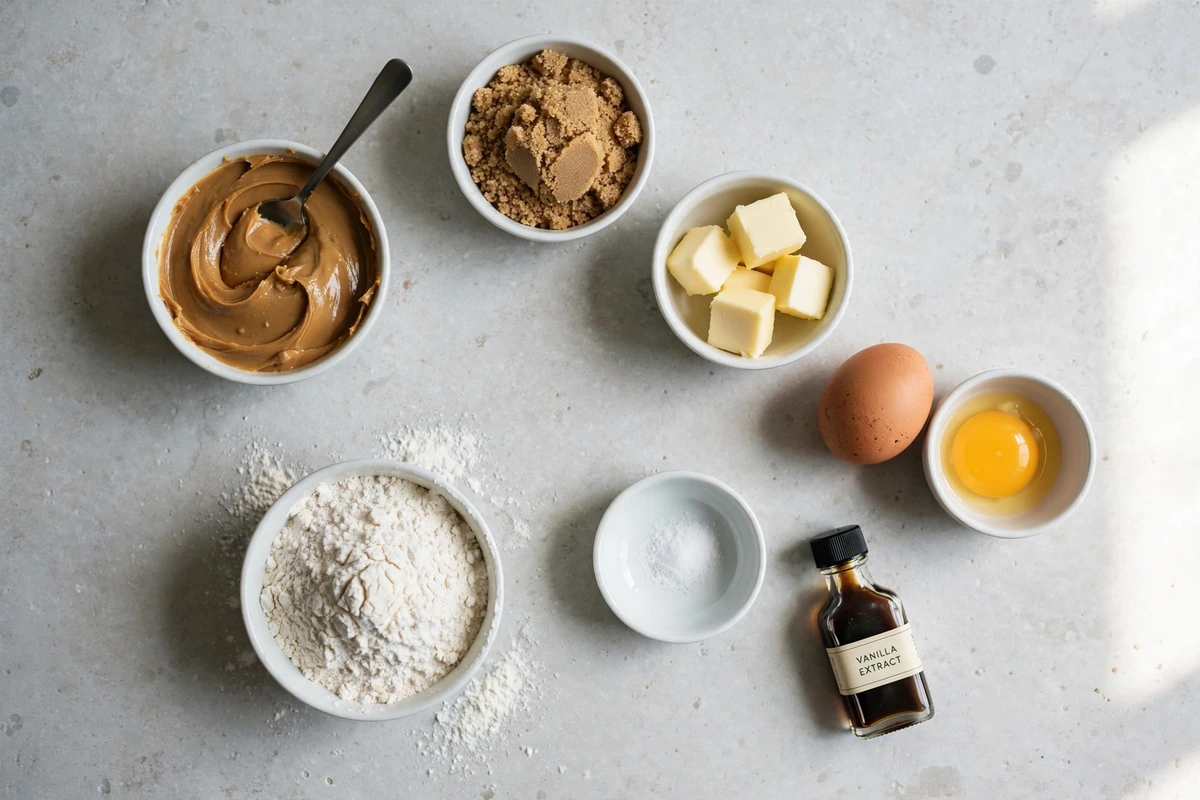
Creamy peanut butter, 1 cup (258 g). Shelf-stable, not natural. This is the flavour and a large part of the fat, so a bland one shows. Crunchy works if you want texture, but it slightly weakens the structure, so expect a flatter cookie.
Unsalted butter, 1/2 cup (113 g), softened. Softened means it dents under a finger without smearing, around 65°F to 67°F. Melted butter here gives you a thin, greasy cookie because the peanut butter already contributes soft fat.
Light brown sugar, 3/4 cup (150 g), packed. This is the chew. Brown sugar carries molasses, which holds onto water and stays soft. Swapping it for all white sugar gives you a crisp cookie instead, which is a fine cookie but not this one.
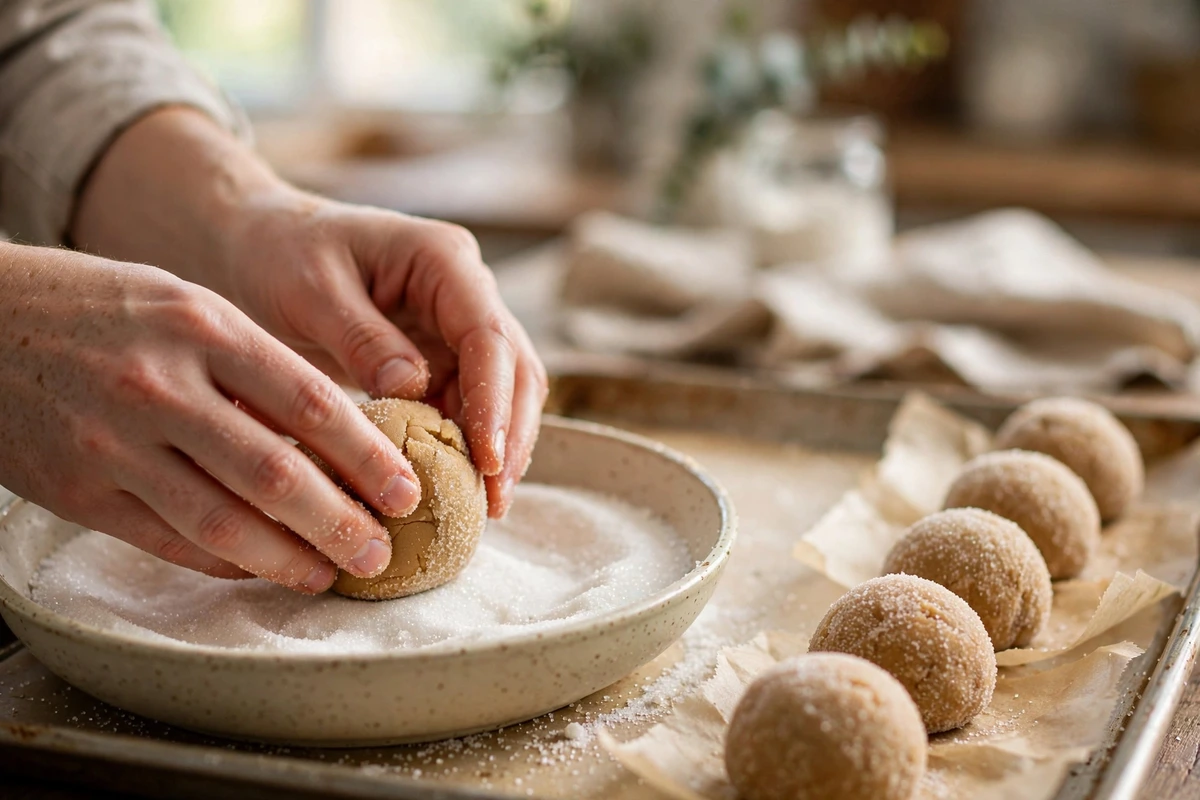
Granulated sugar, 1/4 cup (50 g), plus 1/4 cup for rolling. The small amount in the dough helps the edges crisp. The rolling sugar gives that slightly crackled surface and stops the fork sticking.
One large egg plus one large egg yolk, room temperature. The extra yolk is the second half of the chew. Yolk fat and lecithin keep the crumb tender, while a second whole egg would add water and puff them into cakey rounds.
Alcohol-free vanilla extract, 2 teaspoons.
All-purpose flour, 1 1/2 cups (180 g). Do not substitute this one. The flour is the only thing giving these structure, and cutting it to make them "more peanut butter" gives you a puddle. If you want the flourless version, that is a genuinely different recipe, covered in my [Related recipe: 3 Ingredient Peanut Butter Cookies — link once published].
Baking soda, 3/4 teaspoon. Soda, not powder. It raises the pH slightly, which speeds browning and gives the chewy, slightly spread shape.
Fine salt, 1/2 teaspoon. Halve it if your peanut butter is already salted heavily.
For a spiced cookie instead, see my Snickerdoodle Cookies, and for the piped shortbread style, Classic Butter Cookies.
Equipment Needed
- A 1.5 tablespoon cookie scoop, for even bake times
- Light-coloured heavy baking sheets. Dark pans overbrown the bases of peanut butter cookies before the centres set
- A fork with flat, evenly spaced tines
Detailed Step-by-Step Cooking Guide
Preparation & Setup
1. Cream the butter, peanut butter and sugars
2. Add the egg, yolk and vanilla
3. Whisk the dry ingredients separately, then add
4. Scoop and chill for 30 minutes
5. Roll in sugar and make the criss-cross
6. Bake and rest on the sheet
Kitchen Process & Plating Gallery
Getting the Chew Right
Overbaked, almost every time. Take a minute off and trust the glossy centre. The other cause is too much peanut butter from a heaped cup.
Butter was too warm or the dough went in unchilled. Re-chill the remaining scoops for 45 minutes.
The fork press was too gentle. These need to go to about 1/2 inch thick before baking.
Unwhisked baking soda sitting in pockets. Whisk it through the flour next time.
Store them airtight the same day they are baked, and add a slice of bread to the container. Chewy peanut butter cookies lose moisture to the air faster than a crisp cookie does.
How to Use These Peanut Butter Cookies
How to Serve, Store & Reheat
Slightly warm or at room temperature, with cold milk or coffee.
Airtight at room temperature for up to 5 days. A slice of sandwich bread in the container keeps them soft, and unlike a crisp cookie, that is what you want here. Do not refrigerate, it dries them out.
10 seconds in the microwave brings back the just-baked texture. In an oven, 3 minutes at 300°F (150°C).
Yes, both ways. Freeze baked cookies in a rigid container up to 3 months and thaw at room temperature for an hour. Better option: freeze the scooped dough balls solid, bag them, and bake straight from frozen at 350°F for 11 to 12 minutes. Roll in sugar and fork-press while still frozen.
Dietary Variations & Adaptations
Use a 1:1 gluten free blend with xanthan gum, measured by weight. The dough is slightly softer, so chill for 45 minutes instead of 30.
Replace the butter with firm block-style vegan butter, not tub spread. Texture holds well because the peanut butter is already carrying most of the fat.
Sunflower seed butter substitutes cup for cup. Note that the baking soda reacts with sunflower seeds and can turn the crumb green after cooling. It is harmless and purely cosmetic, but reduce the soda to 1/2 teaspoon to limit it.
“Chew comes from water that stays put. Brown sugar is roughly 3 to 5 percent molasses, and molasses is hygroscopic, meaning it pulls moisture from the air and holds it in the crumb for days. That is why the brown-to-white sugar ratio here is 3:1 and not the reverse. The extra egg yolk works alongside it: yolk is about 30 percent fat plus lecithin, an emulsifier that keeps that fat and water evenly dispersed instead of separating as the cookie cools. Swap in a second whole egg and you add mostly water and protein, which sets into a cakey crumb rather than a chewy one. Recipe Timing Prep: 15 minutes Rest (chilling the scooped dough): 30 minutes Cook: 20 minutes (two sheets, 10 minutes each) Total: 1 hour 5 minutes”
Allergen Notice: This recipe contains peanuts, dairy (butter), egg, and wheat. Substitutions for each are listed above. Ingredient brands and shared equipment vary, so anyone cooking for a diagnosed allergy should check every label themselves. This is not a claim that any version is safe for a specific allergy, and peanut allergies in particular can be severe.
Frequently Asked Questions
Recipe Card & Steps
Ingredients Checklist
Click an item to check it off as you prep
- 1 (113 g) unsalted butter, softened to 65°F to 67°F
- 1 (258 g) creamy shelf-stable peanut butter, levelled
- 3 (150 g) light brown sugar, packed
- 1 (50 g) granulated sugar
- 1 large egg, room temperature
- 1 large egg yolk, room temperature
- 2 alcohol-free vanilla extract
- 1 (180 g) all-purpose flour
- 3 baking soda
- 1 fine salt
- 1 granulated sugar
Step-by-Step Instructions
Follow along and mark each step complete as you cook
Beat the butter, peanut butter, brown sugar and granulated sugar on medium 2 to 3 minutes, until light and fluffy rather than grainy. Scrape the bowl.
Add the egg, egg yolk and vanilla. Mix on low about 30 seconds, just until combined.
In a separate bowl, whisk the flour, baking soda and salt together.
Add the dry mixture in two additions on the lowest speed. Stop while a little dry flour is still visible and finish folding with a spatula.
Scoop 1.5 tablespoon balls onto a tray and refrigerate 30 minutes.
Heat the oven to 350°F (177°C). Roll each chilled ball in the granulated sugar and space 2 inches apart on parchment-lined sheets.
Press each ball with a fork, then again at a right angle, flattening to about 1/2 inch thick.
Bake 9 to 10 minutes. The edges will look set and lightly golden while the centres are still puffed and slightly glossy.
Rest on the hot sheet 5 minutes, then transfer to a wire rack to cool completely.
Recipe Card Notes & Tips
You Might Also Enjoy
More delicious kitchen-tested dishes in Desserts.